Do you have a tube that the second needle and air cap of the H&S came in? If yes, take the .2 nozzle, the .2 needle, and the .2 air cap and put them in the tube. Take a wrap of tape, and put it around the cap of the tube, so that it can not come off. Following so far?
Then, take the tube, and put it all the way in the back of your desk drawer, where it might be possible that if you do not see it for a few days, you might forget it is in there.
")
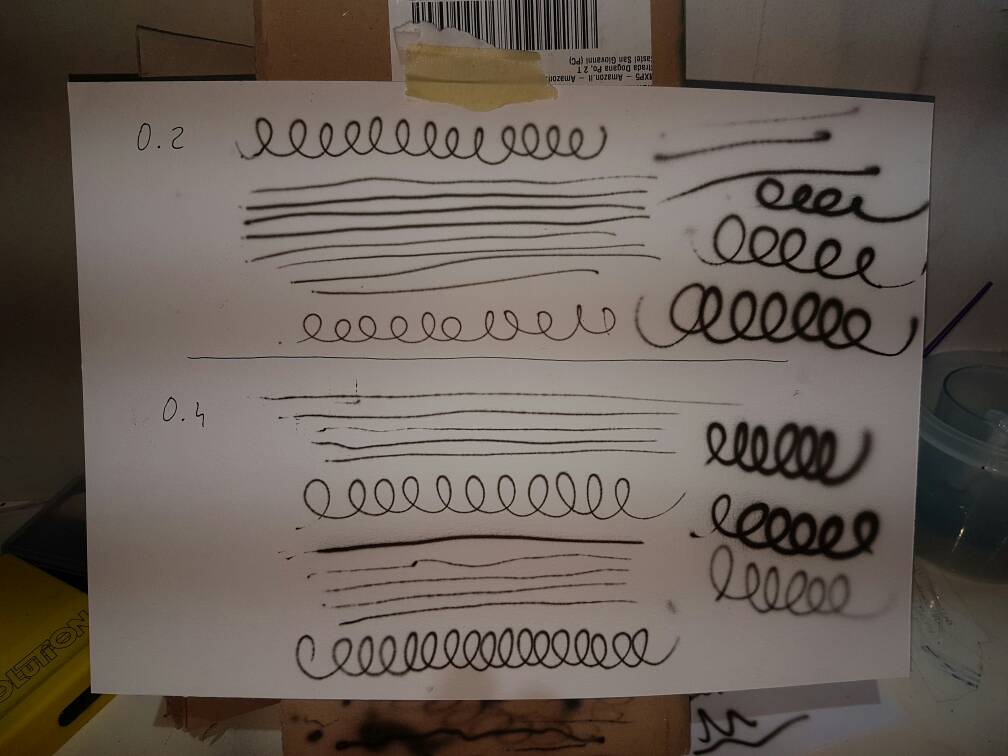
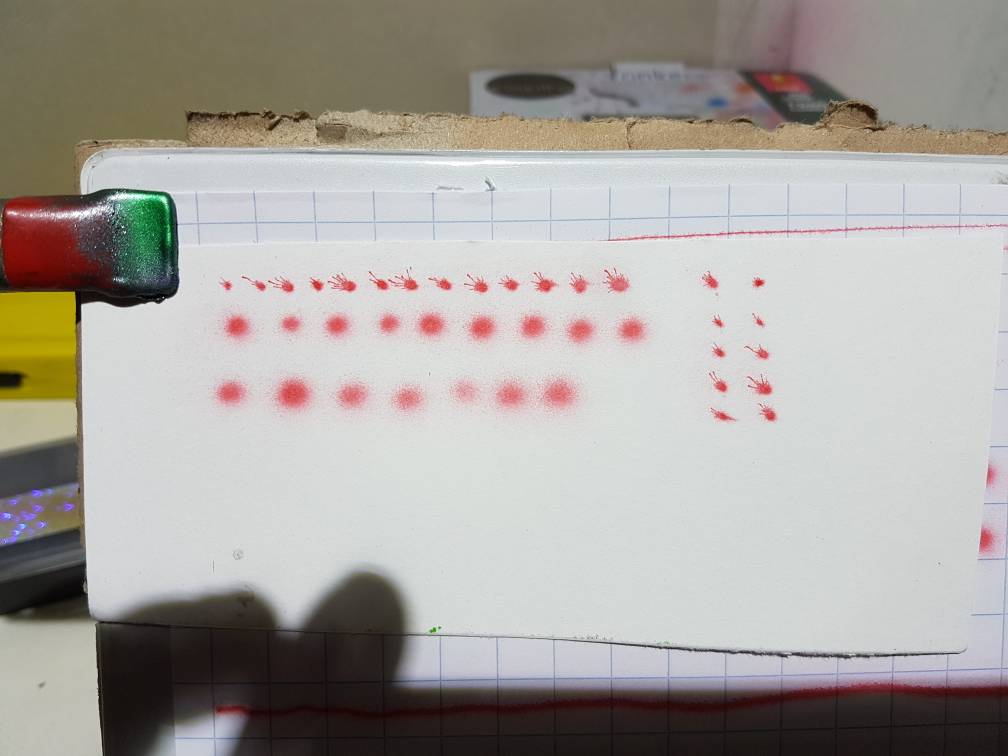
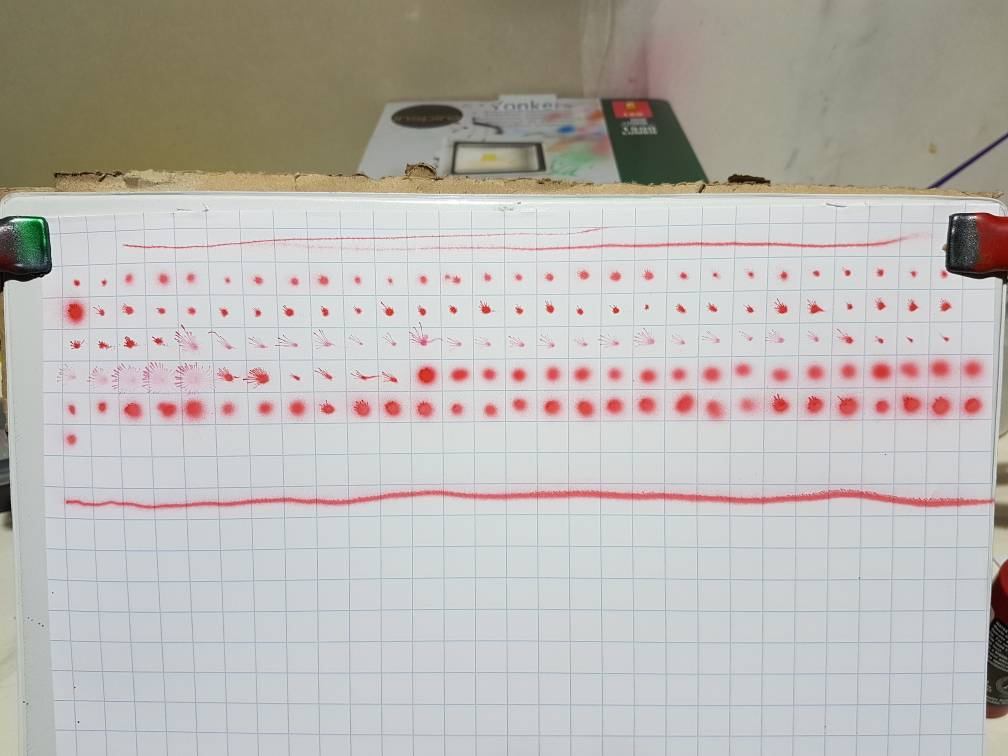
So, with that part of the equation out of the way - Lets get started with the .4 set up (and only the .4 set up). If I am guessing correctly, the Hansa paints are most like Golden Hi Flow. Lets just try this paint for a little while, and see where we can get. So, that is working with the .4 set up in the brush, and using only Hansa paint. Try setting your compressor at about 20psi, and starting with 3 or 4 drops of paint, and two drops of plain water in the brush. Mix with a small paint brush. Try shooting just onto a blank piece of scrap paper, and see what we have.
If the paint is hitting, and spreading out, turn your air pressure down a little. If it seems like the paint does not want to come out of the brush, turn your air pressure up a little. Work only with this set up. You may be able to use less water to reduce if you are still getting too much paint... Try this for a little while, just using one color, water, and air pressure. Black can sometimes be a hard color to use, so try a different color, maybe a nice blue, or something like that.
Different colors can many times require different reduction ratio's, and may spray differently than one another. So, avoid this problem by working with just one.
Lets see where you get doing just these simple things. If we can get any results that look OK, we can try adding another color or two. Once you get a good feeling for the paint reduction that works well, you will have a better feeling going forward...