brushit
Gravity Guru
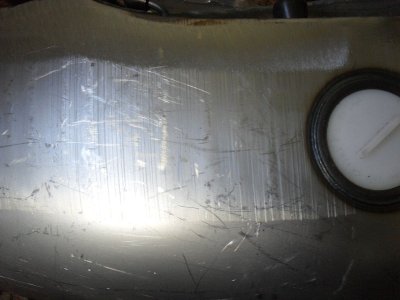
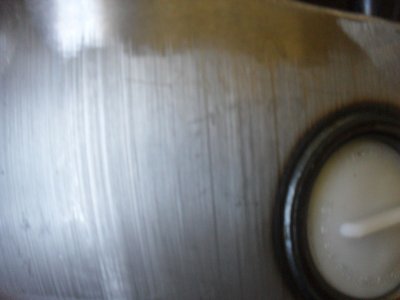
Hi everyone out there. I am not a beginner, but have been airbrushing helmets for many years. My friend has sent me brand new Harley Davidson tank and fenders to paint for him. Silly me, i thought they would come undercoated or something. No way, they are raw stainless steel with many machining grooves , scratches etc. Can anyone please help me out here with the correct method to prepare for painting. See pics. These grooves would be half a millimetre deep and can`t sand stainless . Should i fill them or what. Would be grateful for any replies. Thanks.
 !
!