C
CoreyH
Guest
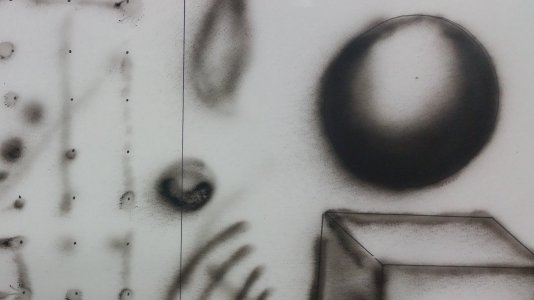
I'm in Missouri. Hobby Lobby is where I bought the paint. I had the kids with me so I couldn't actually go through and read the bottles I just seen a label called Reducer and grabbed it along with Jet Black to practice with. I did just run out to the shop and it is W100 reducer.If I may ask where on this planet do you live and where did you buy the paint?
I know Hobby Lobby here in the USA sells both the W100 (older version ) and the W500 ( Newest version ) of Wicked's Reducer. Either will work for Wicked paint but the W500 is way better then the W100 in most peoples opinion.
They also make a version designed for the new CandyO2 but you can use it with Wicked and even the Illustration paints that is automotive in design and contains acetone to aid with fastest dry time and a lot better flow.
The water based world of paint is getting about as choice crazy as the urethane LOL.
But through a .3 set up 3 to 1 should work for you. If that compressor has a gauge on it see what it is dropping to when you have air on (on the airbrush)
If it shows 25 PSI then with a 3 foot standard hose that comes with most of the studio compressor you should have 18 to 20.
As long as you put in the practice time and as Craig Fraser says and most of the pros out there it is all practice LOL
I'm not sure how I can test the air pressure at the brush, the compressor itself does not have a gauge and the line is so small. Do they make a gauge small for the lines? The compressor is just a small box type with a on/off button. Nothing fancy. Like I said, I just got the cheapest one to practice with...