Day one in the airbrush house

2 steps forward and one back again

yesterday I clear coasted the xbox pad ready to add bullet holes today with another colour of zero paints (original col2and clear was both by zero but as I applied it it immediately made it all bubble up, is it not possible to apply a base over over clear?
 
If your clear caused bubbling or wrinkling, it is probably one or both of these reasons.....
You put the clear on too heavy at one time. It is too harsh for the paint to flood on at once. Do a couple of dust coats first letting each coat dry (flash off) then proceed with the next one. Work your way up to a flood coat....light, med, heavy...
The prep of the controller was lax, causing the paint to not adhere...You need a mechanical bond for most paints and plastics....When clearing, the clear will dry and when it does, it shrinks. If the base is not adhering, the clear will pull the paint off as it dries...

The main thing is to be patient and take your time in all steps....Hope this helps
 
I'm glad it makes sense to you as it will be another page in your airbrush/spraygun journey. Each paint system is different and that's another learning curve so once you suss the flash times and how light or heavy you can spray with this combination of paint and clear you will have another page filled in and experience and knowledge gained. Even though I've been airbrushing for over 35 years on and off I still learn new things all the time. Frustrating I know but you are getting there pretty fast. Plus this info will be useful for others in the future. Good luck for the next go.

Lee
Genuinely can't thank everyone here enough, I'm frustrated that I didn't finish the controller and had to start again but as you say, it's another school day and you only really learn when you mess up badly
 
Another day. Another stupid question from me.

I'm starting to understand that orepis by far the most important thing to get the smoothist finish

However, I've a few things that have a very rough surface, for example these 2 xbox pads from my kids, they want daddy to do a custom design but kids are kids and stuff gets scratches on etc

How can I make this into a perfectly smooth surface? (and of course other things moving forward too)thanks so much
 
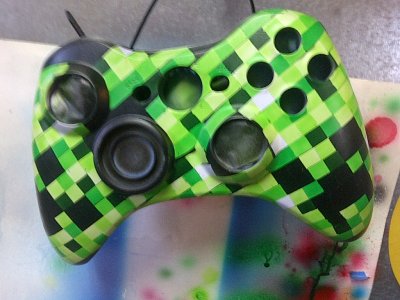
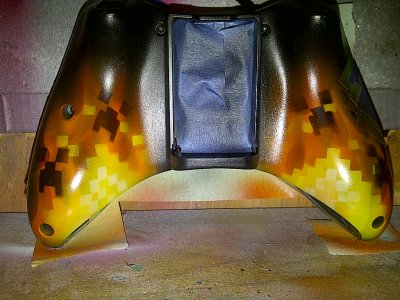
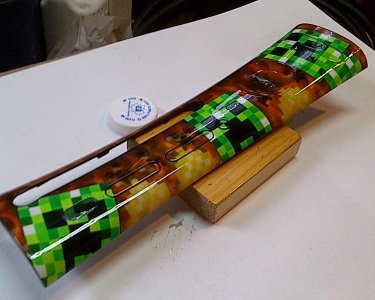
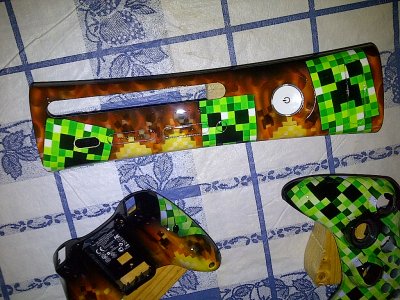
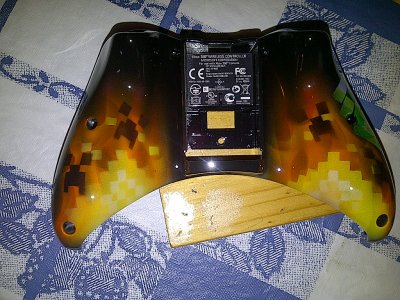
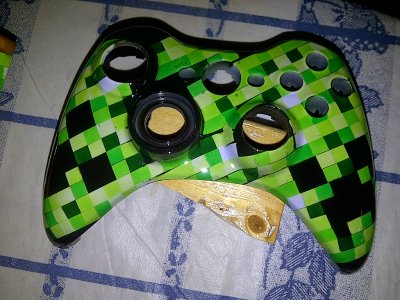
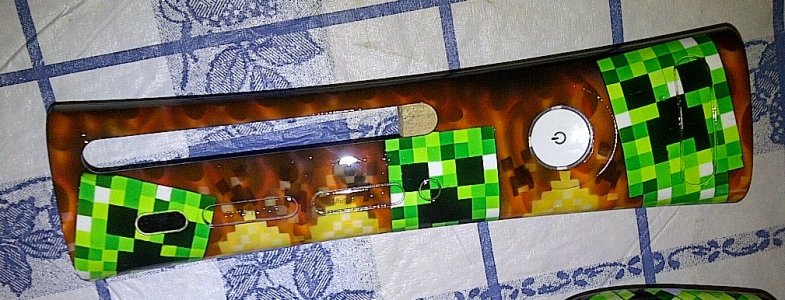
I have done a few of the xbox controllers and here are the steps I used...I also did the faceplate
Clean and degrease really well
Scuff using a red scotch pad
Clean and degrease really well
Paint base...let dry
paint graphics....let dry
Clear coat....approx 10 coats letting each dry...

I used a clear coat in a spray can that is good for plastics...
Here is one I did for my nephew.
IMG-20141207-02631.jpg IMG-20141209-02635.jpg IMG-20141211-02651.jpg IMG-20141211-02655.jpg IMG-20141211-02657.jpg IMG-20141211-02658.jpg minecraft fp.jpg
There is a texture on these and would be impossible to sand smooth, so I achieved the smoothness with the clear...It took a lot to get this though...You need to be patient and take your time. They have been using these for years and have held up really well.
 
Ah OK, I'll be honest I always assumed you must start with something smooth or it's game over

How long do you let the clear dry for

I've tried again and managed to get to stage 2 of clear using digital cameo
544489209d5f2692ee34d0895cf7e28d.jpg
 
Did you use stencils and or masks for that BTW buddy as my kids are Minecraft mad.... Sigh lol

Thanks again
No, I used masking tape cut into squares and just removed them for the colors. Then it was just realistic fire and lots and lots of coats of clear. I waited approx. 15-30 mins between each coat. Make sure you follow the instructions on the can. Give and take of coarse depending on climate.

Things really start to make sense the more you do and find out what works for you.
If it was easy, everyone would do it...lollollol
Haah ain't that the truth buddy

You've given mea lot to be going in with, thank you.

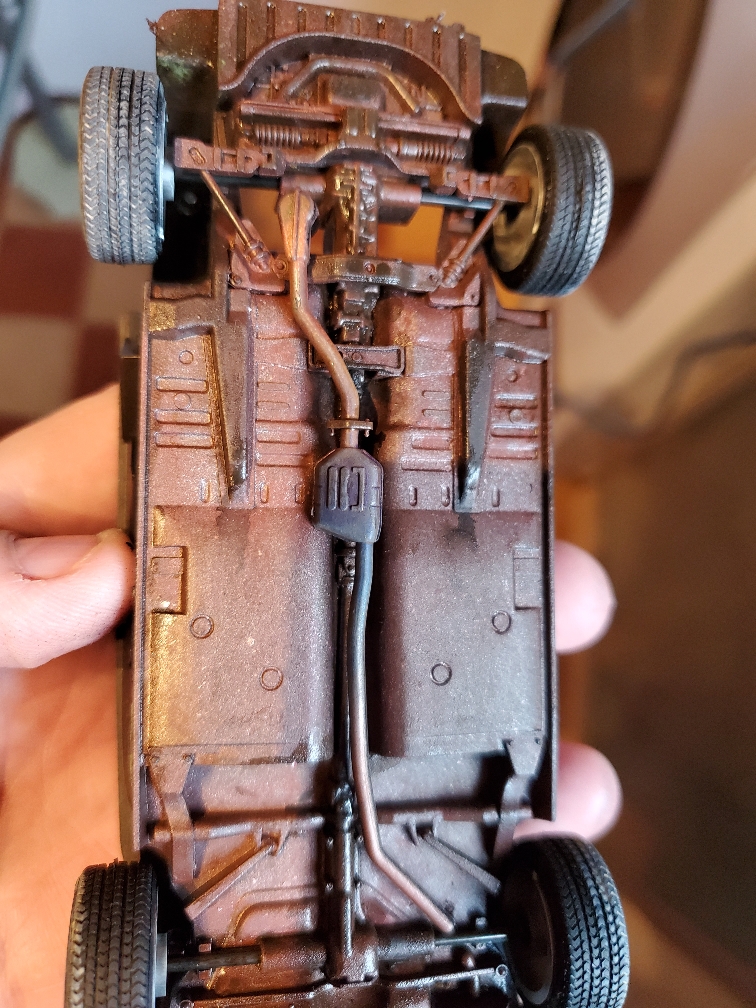
Today was a quiet day but I did try a 10 min method to heat scotch the exhaust before I weather it

Pretty chuffed for a first attempt
bb53275140e1f1e41e4ae476d0145aeb.jpg
edf374f2d1742ad08602556076c0533a.jpg
 
I'm HAVING HELL with stencil bleed, I've tried magnets, tape, holding it, any experts got any tips please :)
 
Back
Top