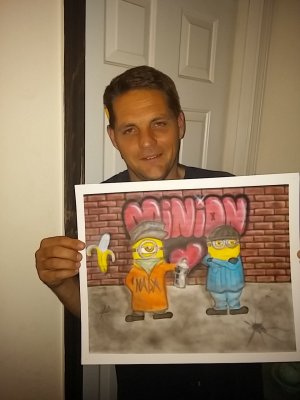
How I do bricks.

Nada

Air-Valve Autobot!
I promised a member I would do this as soon as I was done with Paint Pal.

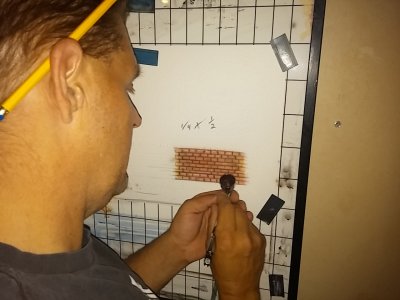
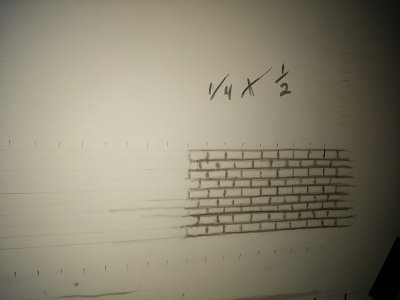
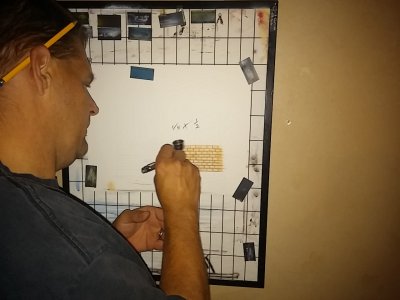
I start out drawing a basic grid, i don't like stencils obviously they are easier and if i were doing light grout I will cover that at a later time. I started bricks as a way to increse my line ability it is a FANTASTIC excercise starting and stopping on the up and down lines.. this one is small as you can see .
1 I go in with transparent black and hit all my lines, the faster you move the straighter the lines will be.
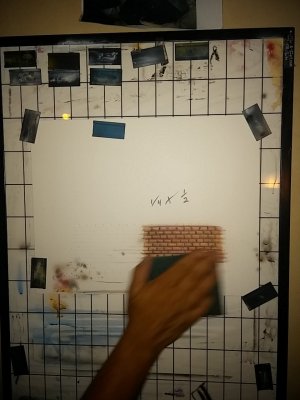
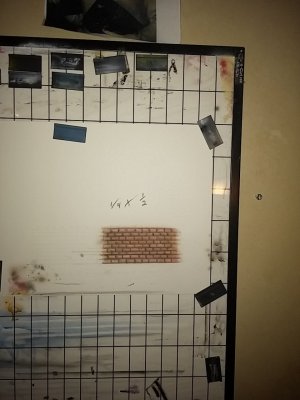
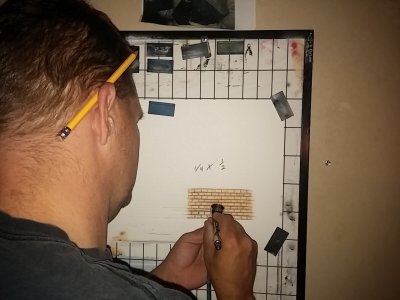
2 Once I have all the lines hit (yes I messed one up but I did this in a hurry under ten minutes color and all and as Mitch said in a video "I don't give a stuff!") I lay a base color down, this depends on the coloring you want the bricks.. in this case I just hit it will transparent sienna.. Usually i do a much darker base. It is very important you decide where the light is coming from now, in this case over my right shoulder.
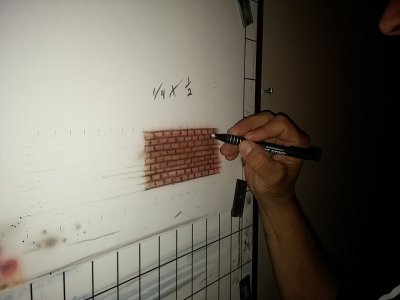
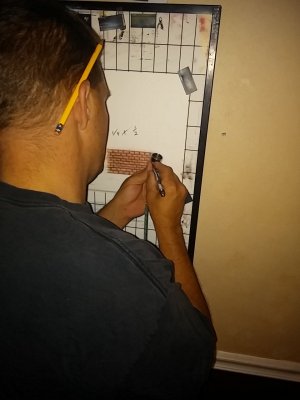
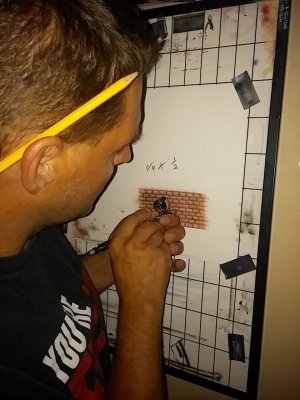
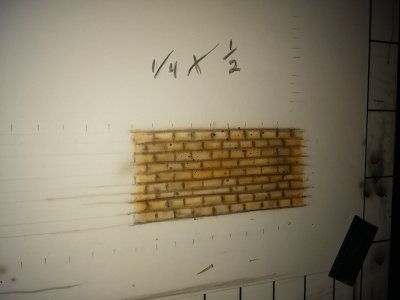
3 and 4 I then did the splatter trick with some black, you hold a pencil or stick or something and spray across it Mitch has a video on it. that covers pictures to this point
 

Attachments

  • 0611142027.jpg
    0611142027.jpg
    292.3 KB · Views: 132
  • 0611142031.jpg
    0611142031.jpg
    352.7 KB · Views: 120
  • 0611142033.jpg
    0611142033.jpg
    372.6 KB · Views: 120
  • 0611142035.jpg
    0611142035.jpg
    361.9 KB · Views: 116
  • 0611142041.jpg
    0611142041.jpg
    277.6 KB · Views: 126
Last edited:
Nada says please wait. He's having technical difficulties. The batteries in his electric eraser died.

Mrs Nada

Ok now i lay in my top color this time I wanted a very simple quick way and just hit with some transparent red. Then I go to the top of each brick and lightly highlight with an eraser alternatively you can do a white wash over those spots those highlights are the difference between just a flat set of lines and some depth the more layers you do this in the richer the colors and the more depth you will create... I dont erase back to white I am just bringing in a little lightness.
 

Attachments

  • 0611142045.jpg
    0611142045.jpg
    357.4 KB · Views: 63
  • 0611142046a.jpg
    0611142046a.jpg
    309.2 KB · Views: 65
Last edited:
Part 3. Last shot is the minions I did for the wife's office.

Ok after hitting with my top color I just add a little black (violet would be better in this case) to my color in my cup and then hit all my lines again.. I like to follow the boxes the small mistakes you make should just come out looking like rough edges.

When I do those lines I keep my airbrush angled away from my highlights, this means any overspray will go into the shaded area of the brick line creating some more depth. If I were to repeat this process two or 3 times it would become very lifelike. More so than my Minions.

The green Scrubby ahhh yes, if you think your picture is getting too dark or if you got too grainy with your paint you can lightly buff with one of those and it will lighten the picture. Also really helpful to remove small traces of overspray. This is on very absorbant paper your not erasing down to white it even works on Metal and plastic.

Now on to the Minion Picture.. Avert your eyes from the handsome gentleman holding the picture, look at the graffiti. The only difference between this becoming very flat is i added the shadows and some highlights in a brick pattern on that graffiti... yes look closely. If you do not do that you can make the best looking bricks in the world... and the affect will be ruined looking like someone pasted a sticker on top of a picture of bricks. Or look like a very bad photoshop job.

I will continue to update this thread with some more bricks and stuff as time allows, lord knows I need the line work. Lastly if your line work is unable to get those lines, thin your paint a lot, slight mistakes will not show up.
 

Attachments

  • 0611142057.jpg
    0611142057.jpg
    125.8 KB · Views: 77
  • 0611142057.jpg
    0611142057.jpg
    125.8 KB · Views: 79
  • 0611142100.jpg
    0611142100.jpg
    168.9 KB · Views: 82
  • 0611142102a.jpg
    0611142102a.jpg
    147.4 KB · Views: 79
  • 0611142102.jpg
    0611142102.jpg
    138.8 KB · Views: 82
  • 0611142110a.jpg
    0611142110a.jpg
    135.2 KB · Views: 87
Last edited:
Love the minions .. batteries for an eraser??? mine is truly old school and weighs about 5 pounds but unless the power goes out it is always ready LMAO.. I will post a picture of it tomorrow .
 
Nada says please wait. He's having technical difficulties. The batteries in his electric eraser died... I hate when that happens. ~Mrs. Nada
Two things, the bricks look cool!! And, batteries?? you guys are on the wrong web site lmao!! Kidding, kidding!! :laugh:
 
Part 3. Last shot is the minions I did for the wife's office.
I will update when I can use the pc. Also I realize this should be a how to if a mod would like to move it... was trying to post real time and get this done very fast.
 
Still just on cell, realized on a pc pics are too small, however I'll update explaining tonight, obviously more layers adds more depth.
 
No probs Nada, they open up fine when you click on them :) I think a little explanation of what you are doing in each pic, would be appreciated though, and thanks for sharing your process like the good egg you are!
 
No probs Nada, they open up fine when you click on them :) I think a little explanation of what you are doing in each pic, would be appreciated though, and thanks for sharing your process like the good egg you are!
Quick notation on my lunch! Should kinda help a newbie out (like im not one!)
 
Quick notation on my lunch! Should kinda help a newbie out (like im not one!)
Will definitely help someone out, especially when newbies see how far you've come already :) Still feel like a newbie myself when I look at all the awesome stuff here, we need all the help we can get! LOL
 
There it is! Been waiting for this:) Thank you very much. *reading now*

Edit: read through it, excellent advice. I'll be trying myself today. Thumbs up
 
Last edited by a moderator:
Back
Top