In the mind of a beginner..

Thanks a lot for the encouragements guys! :thumbsup:

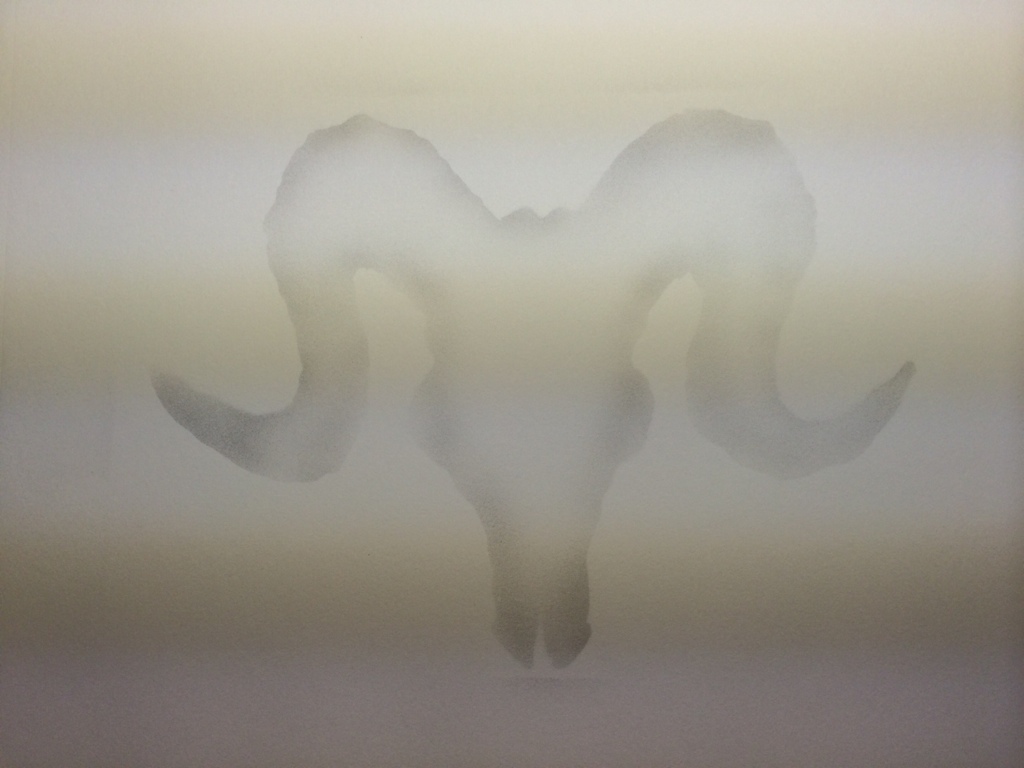
I've just cut me a new stencil and have sprayed the outlines. Will do some guides with a pencil, just to get everything in the right place. Maybe I'm in deep water but I believe that I can make it.. with a good deal of patience and yoga breathing. :p

I need some advice on how to take on the piece.. start with light blends to create depth?

.
asyba9yg.jpg
 
Last edited:
Went to far... to much black on the horns. Will try to reduce the paint more tomorrow. This is mixed 1:1. Blaming the humid heat boiling my head at work all day.. ;)

The skull Is looking pretty good in some places though.

ImageUploadedByTapatalk1406664885.596527.jpg
 
i might be wrong here but to me it looks like you are using the wrong half of the stencil which is causing a lot of over spray right off the bat that you dont need? , instead of spraying round the cut out head use the negative to give your outline and just pencil it in or very lighty go over the edge and remember to angle your gun inwards from your lines ( it looks like you have the gun head on which is going over your original outline (which will darken it the more you go over it) , if you want a shadow its easy enough to add in later.

*i might have it completely wrong tho so i'd wait for one of the experts to take a look :)

ive just done it quickly in psp to show what i mean, this would be your stencil (white is cut out )- the opposite of what you are using now.
http://img.photobucket.com/albums/v132/pugster/ecfcee27c6f9dd9a208de704d9fe3a6e_zpsd594e83e.jpg

give it a try and see if it works better that way for you :)
 
Last edited by a moderator:
Thinner paint and lower pressure will give you much more control in your colour depth, and allow you to build up your layers much slower, stopping you going too dark too soon, and giving you the ability to get much subtler fades so it won't look as blocky. Once you have that paint/air mix down, you will be well away, can see the potential is there!
 
When using a stencil, lightly spray through it. You can always reposition later and darken it up if you don't like it. With black you really gotta reduce it more. White and black are pretty thick. Work on understanding values and apply that with your black. You should be able to reduce it to percentages. By this I mean a 70% black (gray), 20% etc etc. Now if it's not a black and white peice, refrain from using straight black unless it's a requirement like a wolf nose or what have you. It will have many shades other than pure black, but still contains a black base. Say for instance on your skull with the red halo. I would have mixed red with your black, then darkened it with blue or even green since there is yellow in the painting as well. Many colors look close to black when surrounded by other colors. Pure black dominates too much when incorrectly applied. This way of thinking just stems from reading comics and watching cartoons. Everything is outlined in black. Black has its place, but in airbrush work keep it minimal. I own very little black paint other than just pure basecoat.

Sent from my SAMSUNG-SM-G900A using Tapatalk
 
Breaking this post up getting too long lol. You can tell that the black you are mixing isn't thinned enough due to all the splotches in the fades. It's going on hard and not fading softly like it should. I see decent trigger control so I don't think that you are the issue, rather just need better reduction and psi. Break out of the habit of getting to the results. People who watch me paint live always point out during the middle of my painting, that it looks like crap and makes no sense. I'm very subtle in my approach to fine airbrush art and often find myself not paying attention at all and letting my hands paint for me. This all stems back to drawing with the right side of your brain vs the left. With full understanding of the fundamentals of color theory and application, you no longer think and it just clicks and becomes second nature. I let myself create and figure it out as I'm going along. I rarely use any transfer method of a drawing or idea and just start with sketching away with the airbrush.

Sent from my SAMSUNG-SM-G900A using Tapatalk
 
i might be wrong here but to me it looks like you are using the wrong half of the stencil which is causing a lot of over spray right off the bat that you dont need?

I think you are completely right here pugster. I have saved the negative stencil and will try your idea next time.
Thanks! :thumbsup:
 
Thinner paint and lower pressure will give you much more control in your colour depth, and allow you to build up your layers much slower, stopping you going too dark too soon, and giving you the ability to get much subtler fades so it won't look as blocky. Once you have that paint/air mix down, you will be well away, can see the potential is there!

I was using 1:1 reduction and 20 PSI on this piece. I will go much farther with the reduction in my next session, and lower the pressure.
I can feel it's there, very close.. just need to understand the basics a little more. Once I've broken that barrier it will most likely pop.
Thanks! :thumbsup:
 
A lot of good stuff

Thank you for taking your time to explain!
I hear what you are saying and I will try to listen too. I've never studied art and do not know how to build up a painting, but I hunger for knowledge.
My "problem" right now is that I don't know where to start, how to build up the piece. So, it's a trial and error learning and that's ok with me. I'm having a great time when I'm painting.
 
Key is slow buildup, the more time you spend building it up without overworking it, the better your results will be. forget the one stroke coverage of tshirt squirters, while a skill in its own, it's not the look you are after. We all learn differently so it's hard to say you should read this or watch that.

Sent from my SAMSUNG-SM-G900A using Tapatalk
 
If you are visual, this post just came up and I've watched the video myself. Very long winded but it's a black and white portrait so maybe seeing how far it's really reduced and working with midtones and light layers with only white and black, would click for you. His name is Ryan. http://www.airbrushforum.org/index.php?threads/10680/

Just watched the video.. skipped some short parts, but I've spent a good hour watching it. This is exactly what I am looking for to get a feeling for how it is done. I will go on and try this technique and hopefully learn how to control myself so I stop overwork stuff. It'll take time, but hey.. isn't that all we've got?

Thank you very much again, you are an asset to the community! :thumbsup:
 
I think you are completely right here pugster. I have saved the negative stencil and will try your idea next time.
Thanks! :thumbsup:
As you see on the video, you need both side of tencils + & -, You just need to think where light hits the skull and where shadows are =)
 
If you are visual, this post just came up and I've watched the video myself. Very long winded but it's a black and white portrait so maybe seeing how far it's really reduced and working with midtones and light layers with only white and black, would click for you. His name is Ryan. http://www.airbrushforum.org/index.php?threads/10680/

Sent from my SAMSUNG-SM-G900A using Tapatalk

fantastic informative video , only got to watch the first half hr or so and its worth watching for a newbie just for the info on stencil mapping. will watch the rest tomorrow.
 
Got very inspired by the video. Have spent the last hour with this. Everything except for the outlines is freehanded

Wicked Detail reduced 1:10.
Pressure 5 PSI.

Things are starting to happen...

uga8ugez.jpg


ImageUploadedByTapatalk1406747727.437256.jpg
 
Last edited:
Yes! If you evolve that pace, so we get to watch photorealism after 1 week ;)
 
Thank you!
Finally a bit of confidence in what I'm doing. :p

This piece is very far from perfect, but I can feel that good airbrushing is within reach. Just need a lot of practicing hours.

The airbrush is so much easier to control with the new needle, color reduction and low pressure. Now I can go very, very close to the canvas without feeling a risk of ruin it every second.

Already planning on getting me a second airbrush..
 
Back
Top