M
MBeattie
Guest
For all of you beginners out there (me included), I've found the tutorials and practice pages from the Airbrush Tutor of immense help. After I'd done the eye a few times, I thought I'd like to try some new images. Being creatively challenged I need more hints for perspective and form. I tried stencil cutting (and indeed you may need them some of the time) but I found I had to make just a hint of image to avoid the hard artificial edges. Also, being impatient, I wanted something quicker than cutting a stencil.
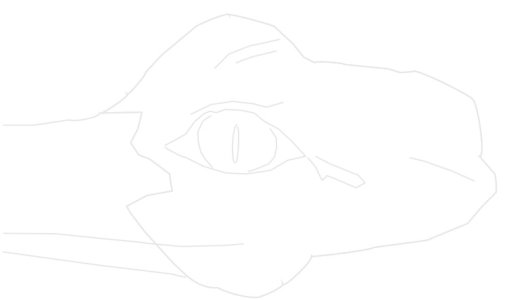
I found it using GIMP. GIMP is an open-source (free - download from www.gimp.org) image manipulation program which is similar to PhotoShop. With it, you can quickly take an image, crop, size and edit it to create a very faint outline (a la the eye) of the image you want to practice. You can select the print size and print it for practice. If you are happy airbrushing on computer paper for practice, you are done.
Here are the steps:
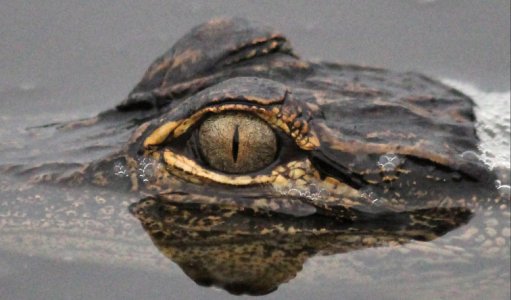
1. Using GIMP, open the source picture you want to airbrush. Gimp works with many image formats.
2. Using the Crop tool (looks like an exacto knife), trim the image to the dimensions you want.
3. From the image menu, resize the image to fit on your screen.
4. Add a new layer and with the layer window, move it beneath your main image. This will be the background of your line drawing.
5. Select the foreground color and make it white. Make sure the new layer is selected and use the bucket-fill tool and fill the new layer white. You'll have to use the eye icon in the layer window to turn off visibility of your main image to see this lower layer.
6. Turn back on the layer visibility of your main image.
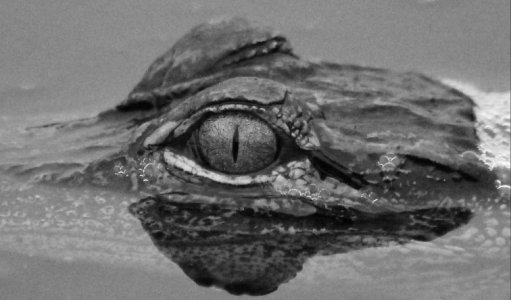
7. (Optional step) Use the layer copy to duplicate your main image. Then use the Color menu item to "desaturate" the image giving you a gray scale layer to use for reference if you are just practicing in monochrome.
8. Create a new blank layer. This will be the layer your line image will be drawn on (like tracing paper). This is currently transparent and you will be looking at either your gray-scale or original image in the background.
9. Make sure the new blank layer is the one selected, then using the Path tool (looks like an ink pen), start clicking around the edges of the parts of the image you want to "trace". Using the path tool is nice because you can move the anchors, drag the line and tweek the bevels as much as you need. You can magnify your view if necessary.
10. Once you have a path the way you want it (it does not have to return to the beginning), click on the foreground color area and change the color to a faint gray. (Note - if the color is too dark you can lighten it later).
11. Using the Edit menu use "Stroke Path". You will be given an option as to how many pixels wide the stroke should be. I use 2.
12. Now you should see the stroke line on top of your image. Select any other tool and the path anchors will disappear. Go to the layer window and turn off the view of all layers except your drawing path layer and the white background. And there you are.
If, once you see your line drawing, you want more detail, just turn on your image, MAKE SURE YOUR PATH LAYER IS SELECTED, make the additional path(s) and stroke them.
I know it seems like a lot of steps, but it's really pretty straightforward once you've done one. Also, in comparison to stencilling, if you come up with something really neat, you can share it.
I suggest you save your files in the native GIMP format so that all layers are preserved for later.
Before you print your image, go to the Image menu and adjust the Print Size which can be adjusted by a number of scale types (cm, in, etc.).
If you want to practice on larger formats than your printer can handle and don't mind a little trimming and pasting, export your image to jpg format. Then go to blockposters.com (also free), upload your image and select the poster size you want. The site will create a pdf file with multiple pages (2x2, 3x3, etc) containing your now expanded image. Print it, trim the appropriate edges, paste and/or tape.
I've passed the first muster and can upload. Example images are further down the thread.
Last edited by a moderator:


